Login on client area using detailed you sign up with.

Go to my services
Select the SSL you wish to install
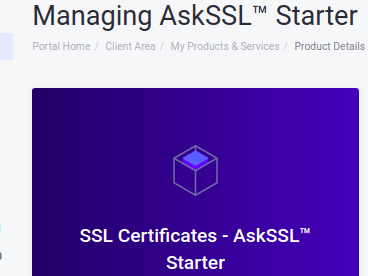
Go to section for configure Now section

Table of Contents
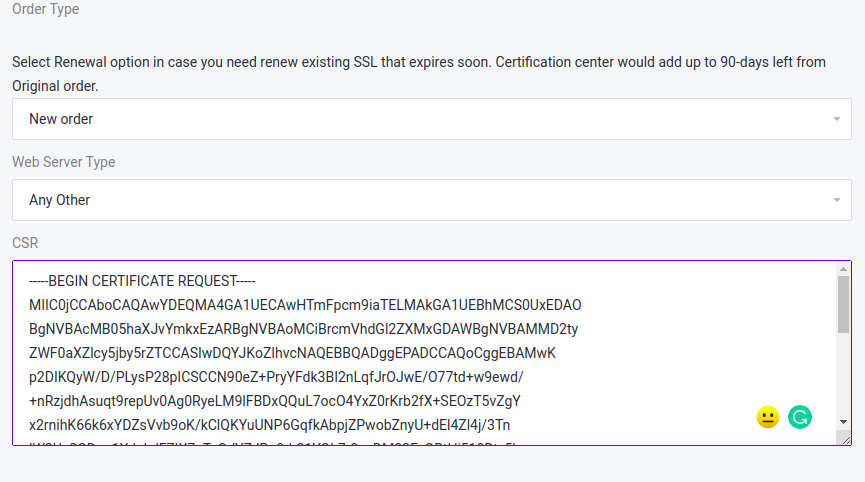
How to fill in Server Information on the Client area
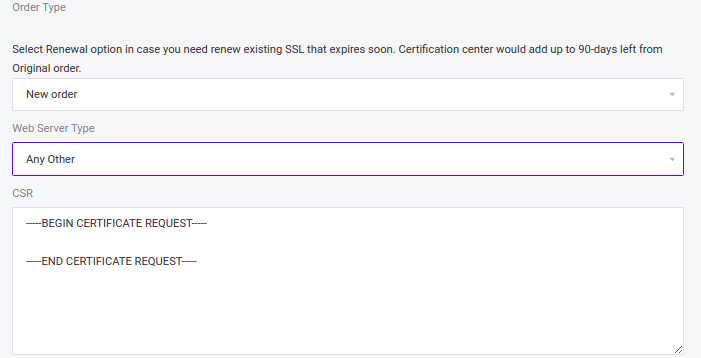
Order type distinguishes new SSL certificates and those being renewed. The SSL Certificate being renewed have an added advantage of 90-days from original order, when renewed on time.
Web Server Type is divided to anyother and IIS . For Windows hosting with windows operating system will use IIS while other webservers will use any other option.
HOW TO GENERATE CSR FOR YOUR SSL CERTIFICATE ON CLIENT AREA
CSR (CERTIFICATE SIGNING REQUESTS) this is a required code to initiate SSL generation.
If using hosting services from Truehost, you will be able to login on Cpanel on client area
(i) How to Access CPANEL via client area
On Client Area,click my services to select the hosting service
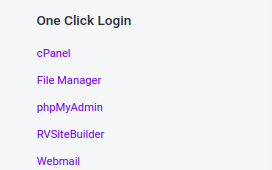
Under one-click login,click Cpanel icon

(ii) How to Generate the CSR on Cpanel
Under Security section, go to SSL/TLS option to generate CSR

1.Select the type of key that the system will create by default for SSL/TLS certificates and signing requests ;
select RSA, 2,048-bit
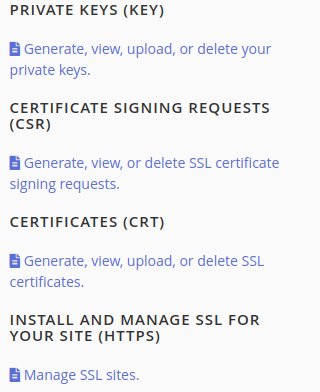
2.Under CSR click the link on Generate, view, or delete SSL certificate signing requests
3. Fill in compulsory details indicated with * asterisk sign on form that appear
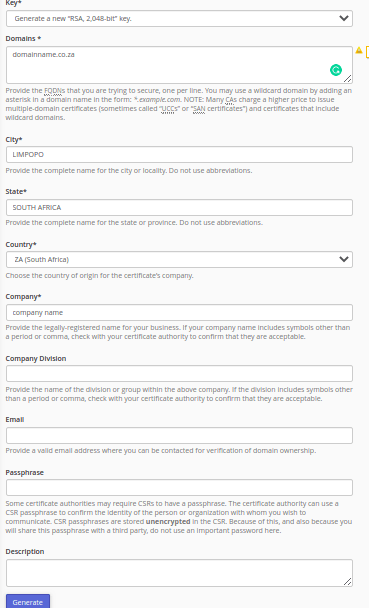
Kindly leave blank on Passphrase while generating CSR.
4.Click Generate button to get the CSR.
The CSR Generated will be as below:
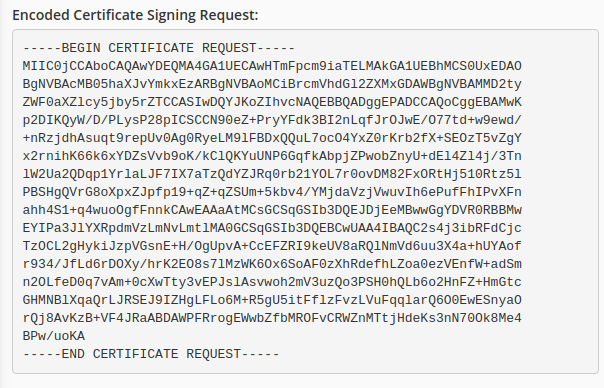
5. Copy the encoded certificate signing request and return to client area to submit it under the SSL generation section as below.
6.Ensure the Administrative Contact Information is filled in correctly with names, email, Organization, ROLE ,address and phone contact.
7. Click continue to submit the CSR.
8. To approve the SSL, Select your preferred method of approval from the drop down on EMAIL, HTTP, HTTPS and DNS.

If you choose email, a link will be sent to your email with an approval code to use.
If you select HTTP OR HTTPS , A file will be provided for uploading and a path where the file should be uploaded.
If DNS is selected, you will receive A CNAME record which you should add on your Zone editor to verify your domain.
9. Click continue to proceed with approval.
Once approval is successful
Return to client area to download certificate for installation

(iii) How to install SSL on Cpanel
Login to Cpanel by clicking my services
Select hosting service where the SSL is to be installed

Under security section select SSL/TLS

Go to CERTIFICATES (CRT) section and click Generate, view, upload, or delete SSL certificates.
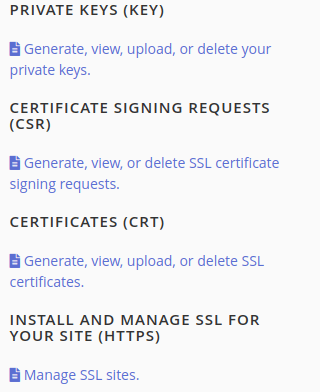
a. Use the choose file to locate the location of your certificate If the certificate you received was inform of .crt file
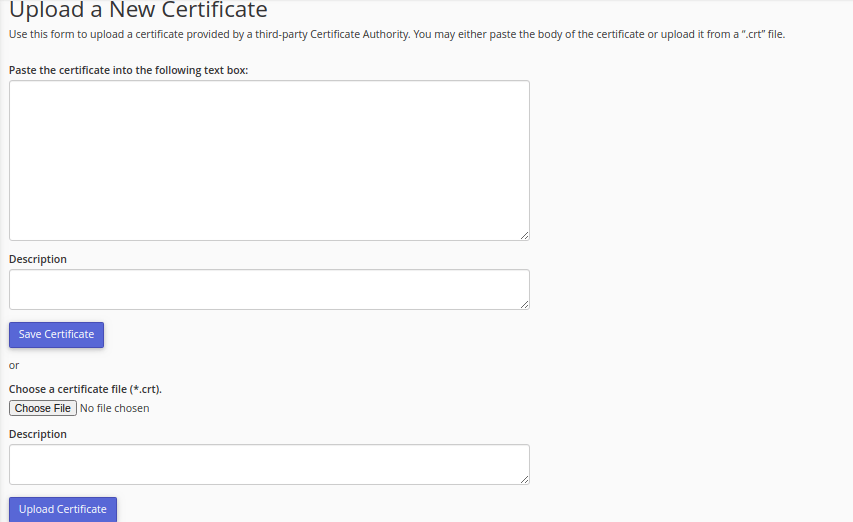
Select the certificate and click Upload certificate button.
Add the certificate description to distinguish the new ssl you are uploading from all other ssl on the cpanel.
b. In the case the SSL is inform of text as below, add it in the text box , and click upload certificate.
—–BEGIN CERTIFICATE—–
MIIFvjCCBKagAwIBAgIRANDL50UzdzCW17bdRgh654swDQYJKoZIhvcNAQELBQAw
TDELMAkGA1UEBhMCTFYxDTALBgNVBAcTBFJpZ2ExETAPBgNVBAoTCEdvR2V0U1NM
MRswGQYDVQQDExJHb0dldFNTTCBSU0EgRFYgQ0EwHhcNMjEwMjI0MDAwMDAwWhcN
MjIwMjI0MjM1OTU5WjAhMR8wHQYDVQQDExZzdGFuYmljZ3JvdXBzYXNzZXQub3Jn
MIIBIjANBgkqhkiG9w0BAQEFAAOCAQ8AMIIBCgKCAQEArdB1aWGPnRXfYa4tbwZc
ah+p3nPKa5vH/3f45HJQKMdsg71XawprnsteKJDJD9voeZzuj62SgC5LsMNhMy4x
1iZPw/hxqXn4yJKhagAxOuPXvEIfNlgnP/grNasVc/8/0B7pnUEaROjhJpoW9t2k
um4tVHh4uX2NilPgvzGXRGVtncF4/QBG67Wz/Mwb1QTP8PiUdL7aHKdg2FP4ITtY
wcSbNDa61urF8C25r1b+5a9SUh81jb9CCwFk4EIOOHHROFXlfSnsgJfTH+0qtioh
f8opF0/Rq/RrjRXDVob+Fx1wLeJIaUH9pmRTrkKs9Av9l+V2bb4uwzOZM32ONEBd
6wIDAQABo4ICxDCCAsAwHwYDVR0jBBgwFoAU+ftQxItnu2dk/oMhpqnOP1WEk5kw
HQYDVR0OBBYEFPUXCokKOuoWlNkUwtd4dHAzRArdMA4GA1UdDwEB/wQEAwIFoDAM
BgNVHRMBAf8EAjAAMB0GA1UdJQQWMBQGCCsGAQUFBwMBBggrBgEFBQcDAjBLBgNV
HSAERDBCMDYGCysGAQQBsjEBAgJAMCcwJQYIKwYBBQUHAgEWGWh0dHBzOi8vY3Bz
LnVzZXJ0cnVzdC5jb20wCAYGZ4EMAQIBMD0GA1UdHwQ2MDQwMqAwoC6GLGh0dHA6
Ly9jcmwudXNlcnRydXN0LmNvbS9Hb0dldFNTTFJTQURWQ0EuY3JsMG8GCCsGAQUF
BwEBBGMwYTA4BggrBgEFBQcwAoYsaHR0cDovL2NydC51c2VydHJ1c3QuY29tL0dv
R2V0U1NMUlNBRFZDQS5jcnQwJQYIKwYBBQUHMAGGGWh0dHA6Ly9vY3NwLnVzZXJ0
cnVzdC5jb20wPQYDVR0RBDYwNIIWc3RhbmJpY2dyb3Vwc2Fzc2V0Lm9yZ4Iad3d3
LnN0YW5iaWNncm91cHNhc3NldC5vcmcwggEDBgorBgEEAdZ5AgQCBIH0BIHxAO8A
dgBGpVXrdfqRIDC1oolp9PN9ESxBdL79SbiFq/L8cP5tRwAAAXfTU1ilAAAEAwBH
MEUCIC6NtlkTbbKiL9XBq4M5VRXHMsp61gB3iozZ31jgv9c4AiEA6bSu/A8+wguz
DxEv1lOFGuyfBvw7g28hP65nVG7QxBIAdQDfpV6raIJPH2yt7rhfTj5a6s2iEqRq
Xo47EsAgRFwqcwAAAXfTU1m+AAAEAwBGMEQCIDbJW0oE0ZbuKL5ulX0C7EqVkJtV
d/c8gcSg2ES0n7m8AiAl67pkjDUOlRm+gF8OOFwAdSTRniaVrIy2qrw8fGDlAjAN
BgkqhkiG9w0BAQsFAAOCAQEAKNWo41xuR1eCYXfYY5GZ4qi+LVJtSS09raaD1drh
AYGWZEHVzyXmSQ2uKPsFAiPg6KVw55yzzr4TKWafASvyOwxruRTJC36yh1x2JDgI
OHaeu3WYWRLL1vDxGO/II2jaKoN8BiA5wS4OIzvJlu7C9PXsOTb5CpYNLiuo8UqU
VLRCIP78KH3e8CMEqJ1RB99rw2Ji5LWno+dvqhzCfBLcCQix/eum4V/DLoaH6oL3
Y9b5bcMNzpF2m/xud+vCMt7fFRTC89mdZoAQR8AdFicsJ5PzCsdL6x+HTA3uUo/b
ILBTlIXsx4qceOBy70iGn3A3hLW4KTqzS6hheOvyMCO9Jg==
—–END CERTIFICATE—–
Once your upload confirmation message is successful, proceed to installation.
(i) Go to INSTALL AND MANAGE SSL FOR YOUR SITE (HTTPS) and click on Manage SSL sites the form below will appear
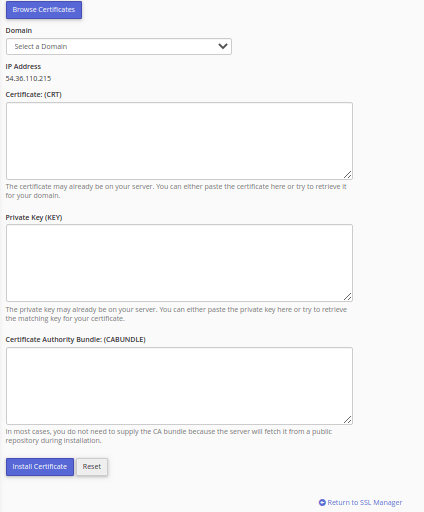
(ii) Click Browse certificate option to select preferred SSL certificate
Select the domain name as the website link which you are securing
(iii) The CRT, Private key and CABundle will autofill itself once correct certificate is selected.
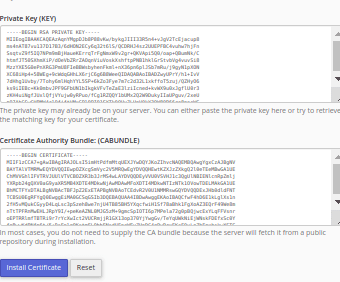
(iv) Now click INSTALL Certificate button to complete the installation
A successful installation notification will appear.
(v) Now proceed to the file section to add the redirect code (this ensures that any visitor who accesses your website will be able to use https automatically without typing https on the browser)
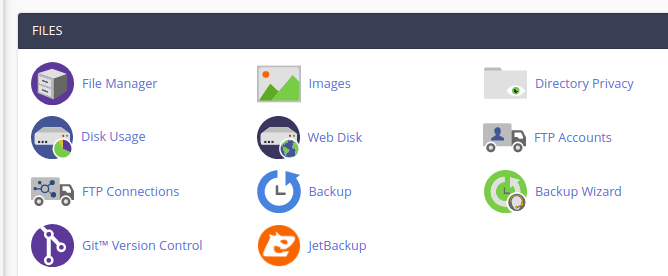
Click file manager
If the installation was on main domain go to public-html to add the .htaccess file
To check if .htaccess file exists, click settings on top right hand
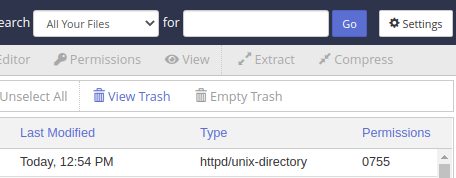
Then tick the option for show hidden files and click Save button

You will see .htaccess file if it exists as below
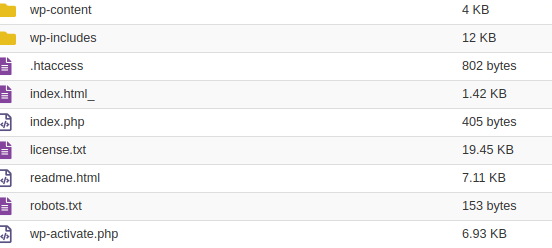
To add the redirect code on it ,right click on the .htaccess file and select edit option
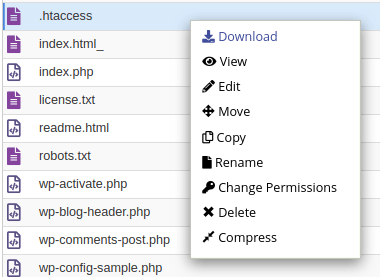
Redirect code below appears as below:
RewriteEngine On
RewriteCond %{HTTPS} off
RewriteRule ^(.*)$ https://%{HTTP_HOST}%{REQUEST_URI} [L,R=301]
Copy the redirect code above and paste it on the .htaceess file and click save changes button on top
If the .htaccess file does not exist, create it by clicking file on top menu

Fill in the name of file as below and click create New file button
Now open the created file and click edit to paste the redirect code and save.
To confirm SSL Certificate is successfully installed, access the website on new tab, it should show a padlock sign with HTTPS as below

NOTE: For SSL installations on the Addon domain and subdomains, the redirect code should be added as a file in the folder with the name of the addon domain or subdomain respectively.


