Last updated on February 25th, 2021 at 01:08 pm
VPS hosting offered in Truehost is available in multiple location in South Africa and Europe data-centers.
Hosting location may be important if services to be offered are location sensitive.
VPS from South Africa and Europe boosts productivity by offering dedicated resources for applications, websites and online shops.
In addition, users have been able to optimize their VPS using Truehost Tpanel.
Ordering a VPS in South Africa
1. Login on client area through https://truehost.co.za/cloud/clientarea.php
For new members use the sign up option on https://truehost.co.za/cloud/register.php
2. Select your preferred VPS type on the left hand side
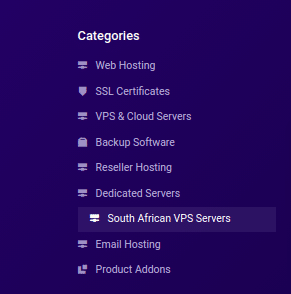
3. Select South African VPS Servers under the categories.
4. Select your preferred VPS on available options
5. Click order now
6. Select the billing cycle
7. Fill in configuration details for your VPS

Hostname:
Root Password:
Name-servers prefix:
Operating System:
8.Select your preferred Payment method for paying for your VPS
9. Read and agree to the Truehost Terms of Service
10. Click Checkout to complete the order.
11.To complete payment, Go to billing section

12. Click on My Invoices
13. Select the invoice number you prefer to pay
14. Click Make payment option
15. A successful payment notification will appear when payment is successful
16.A failed notification will pop out when payment failure occurs with reason for failure
17. Your VPS ordering process is now complete.
You will receive login details when VPS Set up is complete on your email.
Alternatively, to check the VPS login details on Client Area
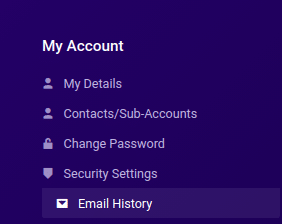
-Click on human icon on top right hand ,and choose Email history
How to order VPS in Europe
1. Login on client area by filling in login details on link https://truehost.co.za/cloud/clientarea.php

For new members use Create a New Account option at bottom of login page.
2. Click under services and select order new services

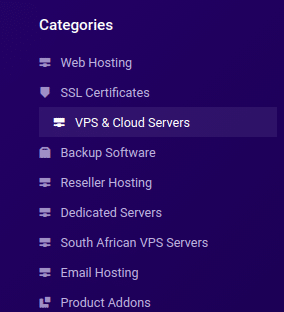
3. Select the VPS & Cloud Servers option on categories on Left Hand side
4. Click order now on your preferred VPS
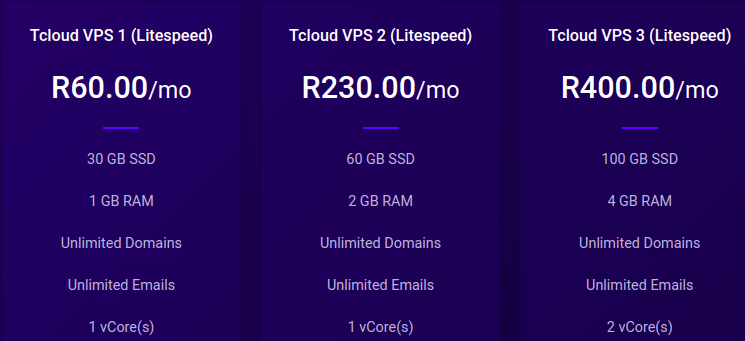
5. Fill in VPS configurations needed for your VPS as below
VPS Billing Cycle Such as monthly, annually
VPS Hostname such as server.mydomain or vps.domain
Strong VPS root password
NS1 and NS2 prefix for your VPS Nameservers such as Ns3 and Ns4
Your VPS’s Operating system of preference such as Ubuntu
Select an additional Services if required such as SSL or backup
6. Click Continue option to proceed with the order
7. Set your Payment method
8. Study Truehost Terms of Service and click I agree
9. Click CHECKOUT option to complete VPS order
10.Go to Billing section and choose My invoices

11. Click on Invoice number to make payment
12. Select Make Payment option to complete payment
Payment process is followed by a successful notification or a reason for failure.
13. The VPS Login details are available on email and on client area when VPS set up is complete.
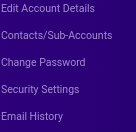
To check the login details on client area, click on human icon on right hand corner
Select Email History to view VPS Login details
